If you use the SkyGuider Pro portable star tracker from iOptron, you probably know it can be a little difficult and uncomfortable to polar align by using the included polar scope, as it ideally requires either a tall tripod in order to see through the polar finder comfortably, or you have to crouch down to look through it. You also need to be careful not to knock the mount or tripod as you approach it to look through the polar scope, otherwise you can ruin your polar alignment!
Doing a rough polar alignment just by pointing in the general direction of north (or south for the southern hemisphere) can suffice for wide angle lenses, but if you want to get a more accurate alignment and shoot much longer exposures and use longer lenses, you can more comfortably and accurately polar align the SkyGuider Pro by using an electronic polar scope instead of the built-in polar scope.
iOptron offers their own electronic polar scope for the SkyGuider Pro – the iOptron iPolar – which can be hooked up to your computer/laptop. However, I consider this a pricey investment at $268 when I already own a QHY PoleMaster electronic polar scope for aligning my larger telescope mounts.
Using the iPolar also requires you to replace the manual polar scope in the SkyGuider with the electronic polar scope. This can make it difficult to polar align on the occasions you don’t want to bring your laptop along for a night of imaging, but still want to get a reasonable polar alignment using the manual polar scope.
As I already own a QHY PoleMaster, I wanted to find a way to mount it to the SkyGuider Pro. This post will show how to reliably attach the PoleMaster, and I’ll capture some test images to see whether it improves the ability to shoot long exposures.
Attaching the PoleMaster to the SkyGuider Pro
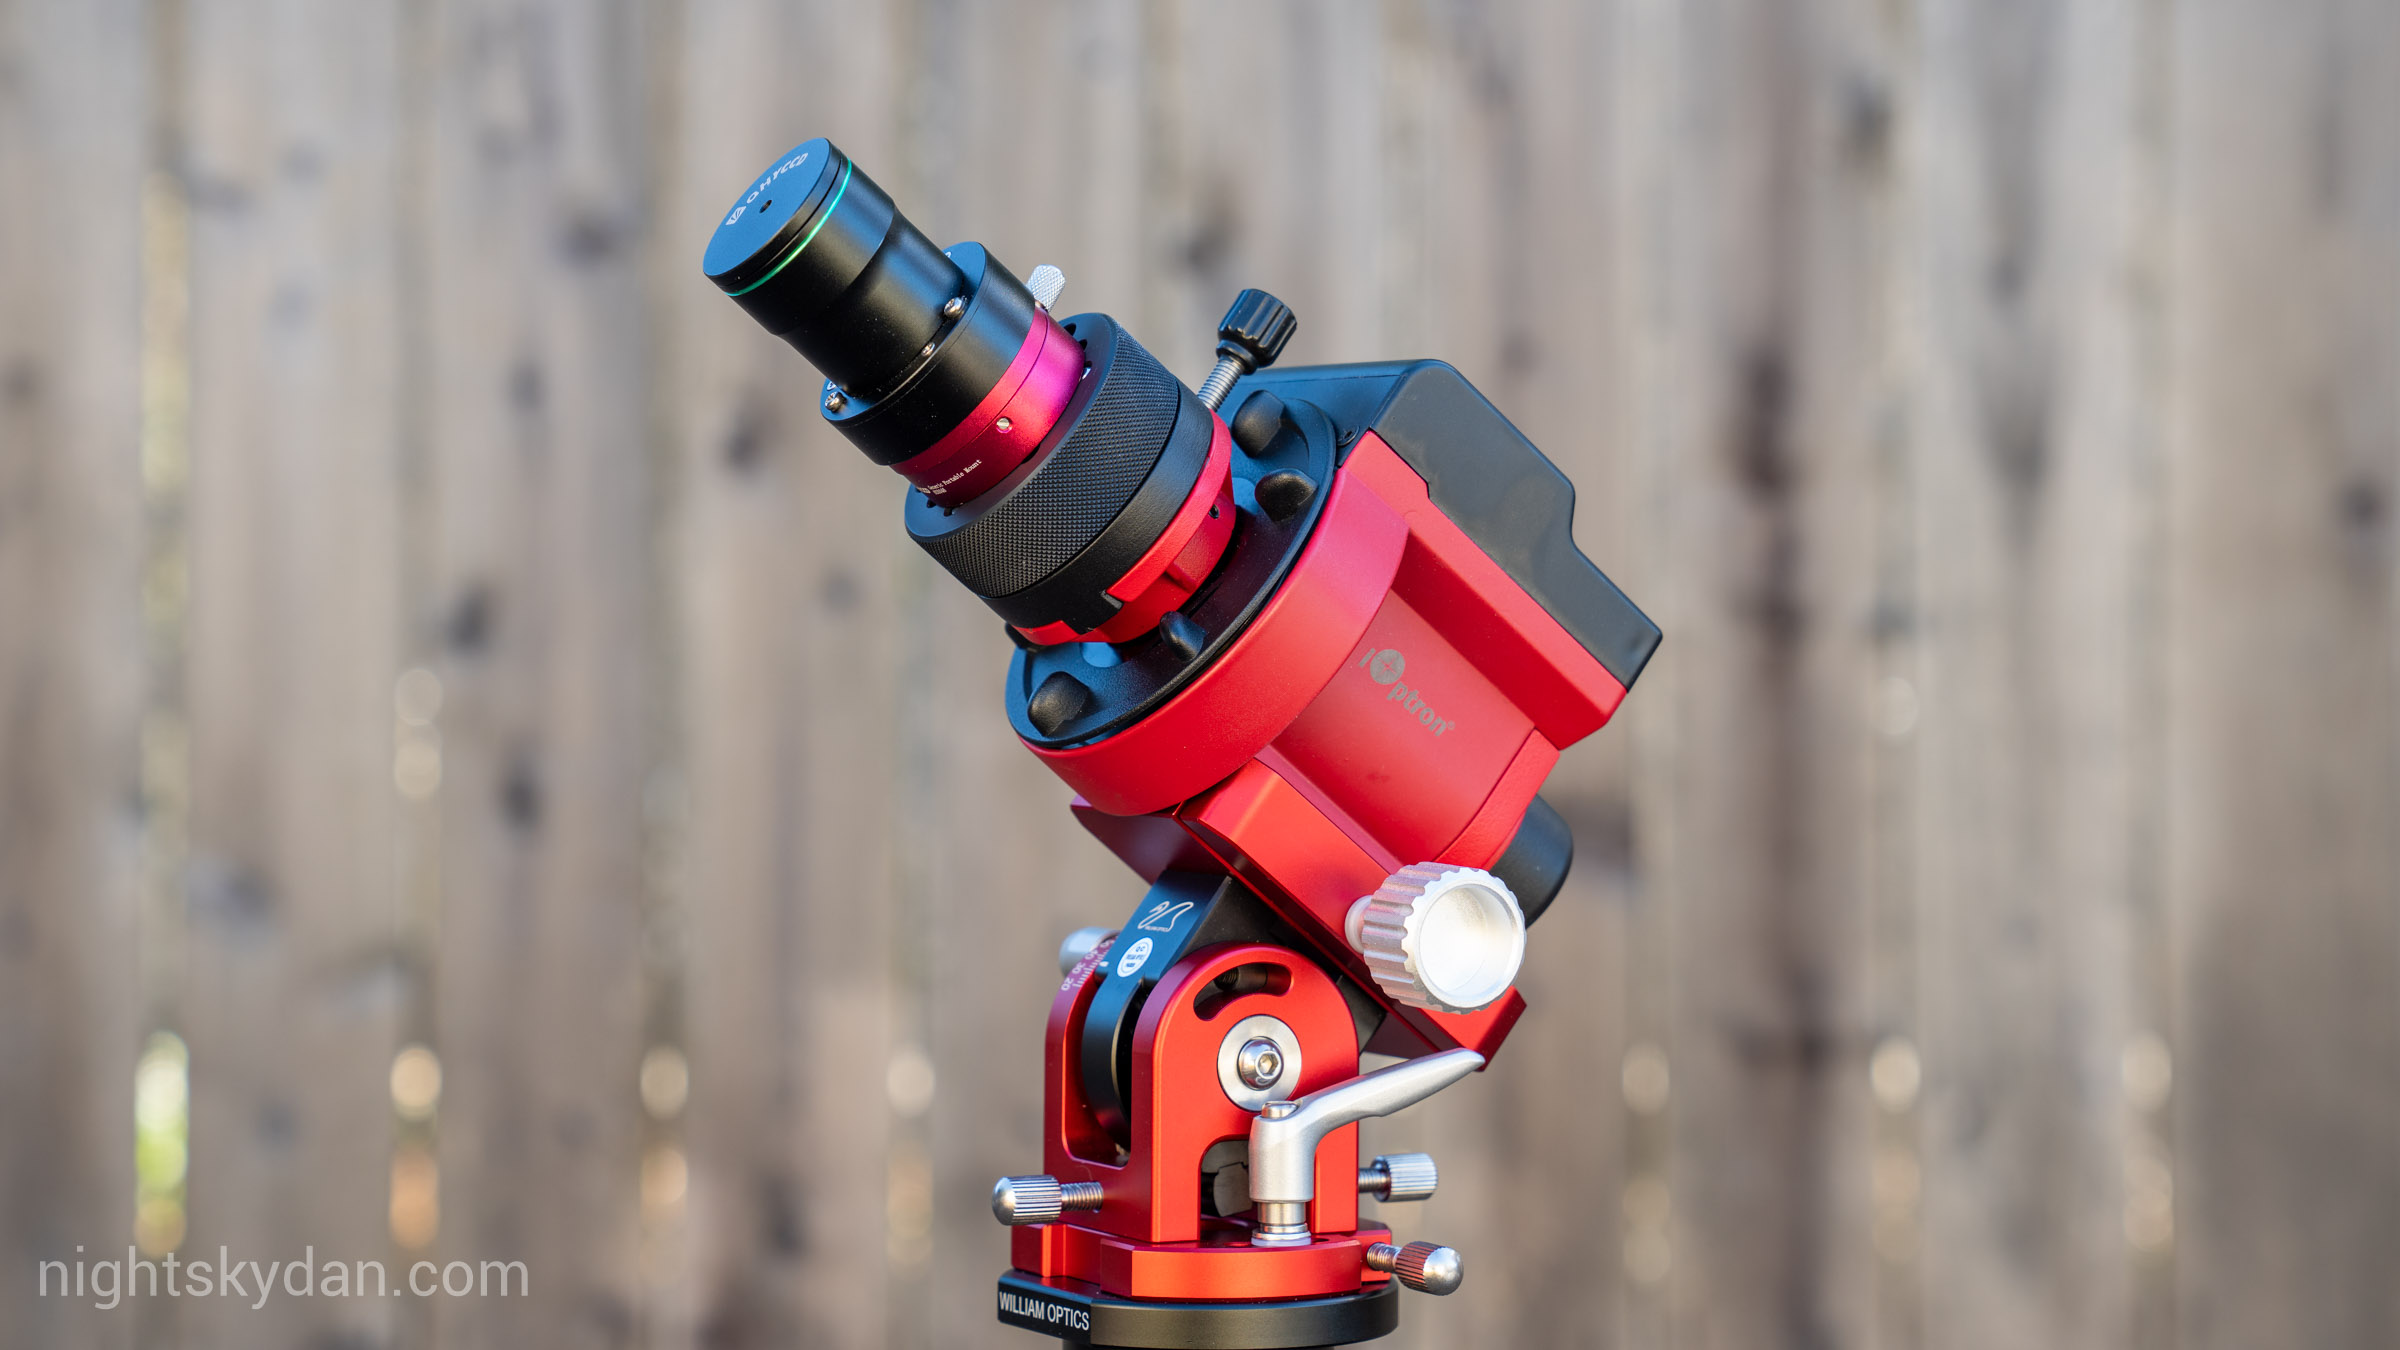
As you need to align the RA axis when doing a polar alignment, it was important that I find a way to attach the PoleMaster flat on to the SkyGuider Pro’s RA axis. Here is the SkyGuider Pro unit, shown mounted on the upgraded William Optics vixen mount:
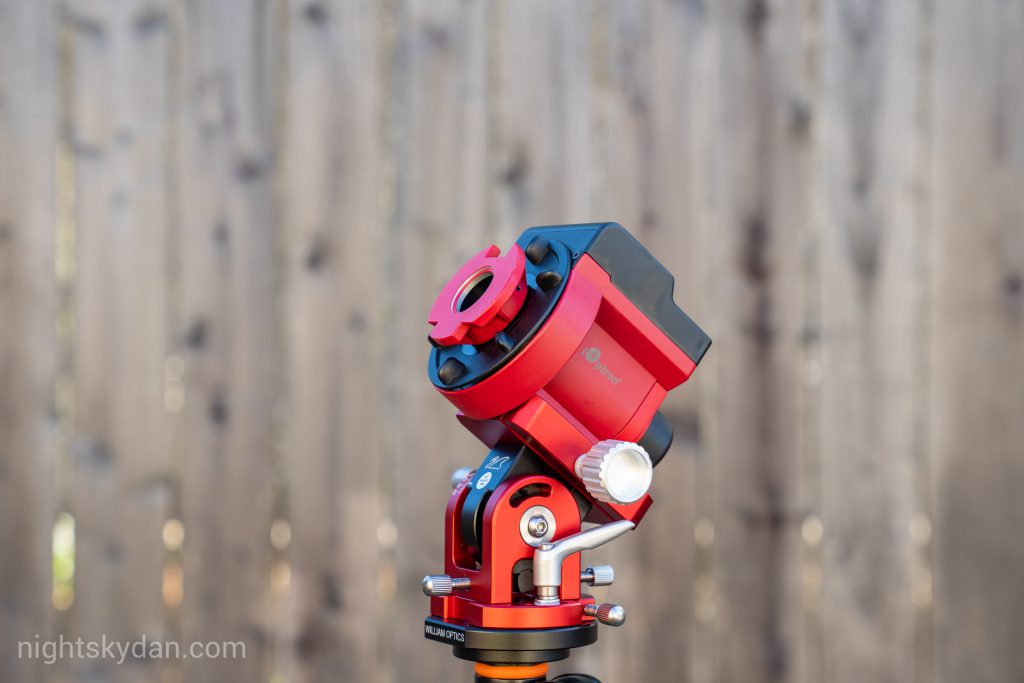
QHY doesn’t produce a specific adapter for mounting the PoleMaster to the SkyGuider Pro, but they do offer a universal adapter that comes with a 1/4″ threaded hole for adapting to various mounts:

In order to use this universal adapter, I started off by attaching the camera mounting block that’s included with the SkyGuider Pro. This mounting block is fitted with a 3/8″ bolt:
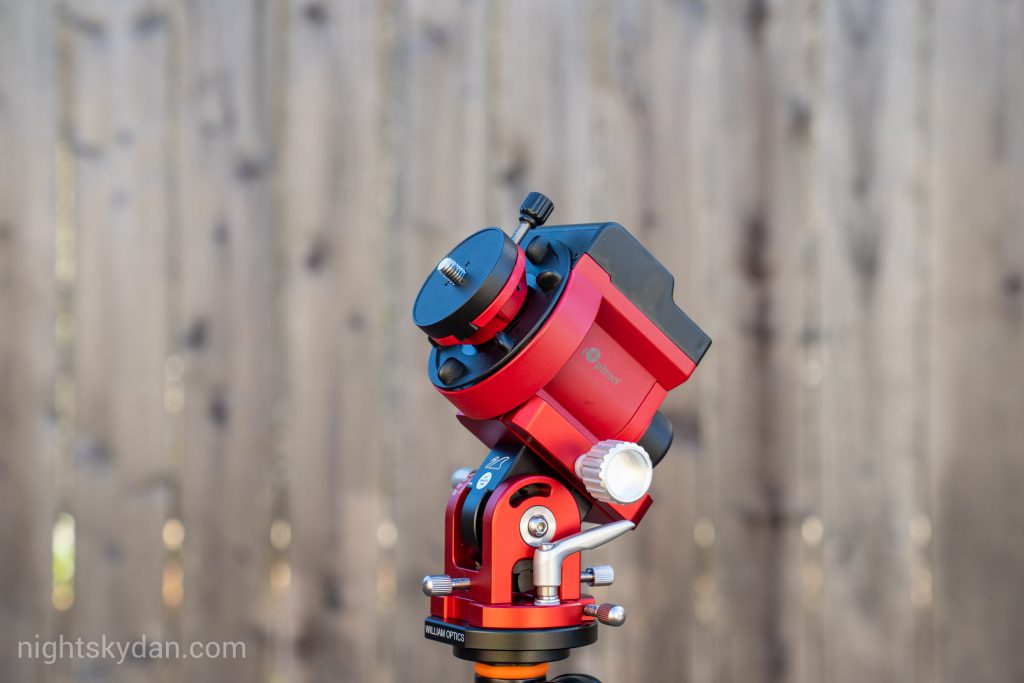
Then, by using a 3/8″ to 1/4″ converter plate I’ll be able to mount the PoleMaster universal adapter to the SkyGuider Pro. Here is the converter plate I’m using, made by Manfrotto (available on Amazon), shown attached to the SkyGuider Pro:
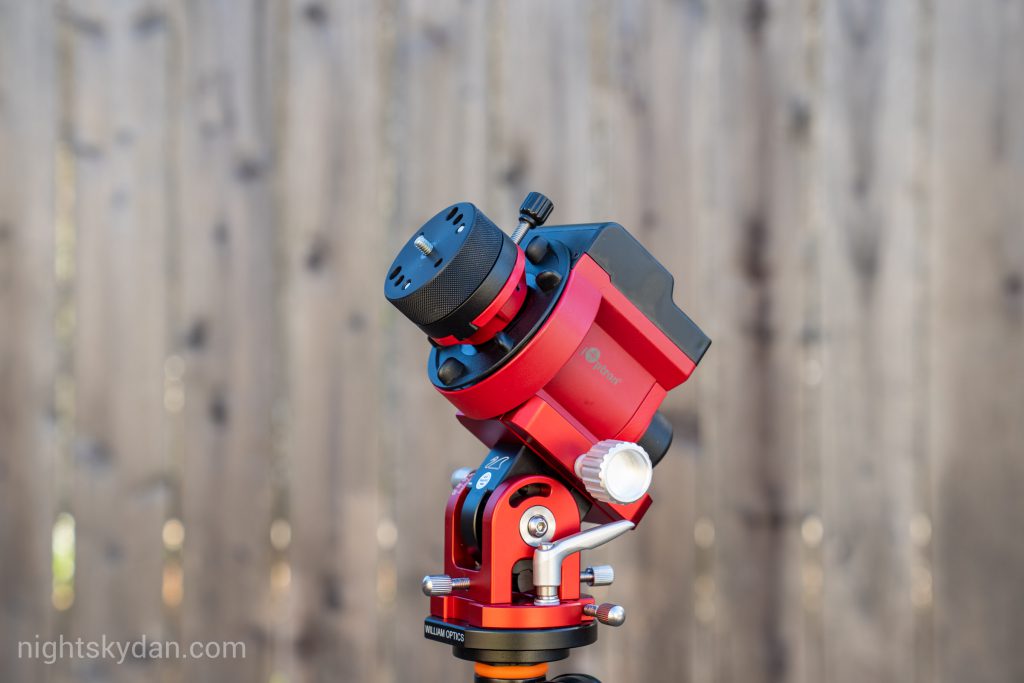
You can find other adapter plates on Amazon or from camera stores. The important thing to bear in mind is you’ll want a fairly deep adapter plate, so that it sits flush with the camera mounting plate on the SkyGuider Pro when fully screwed on (the 3/8″ bolt is 1cm in length). Here is the PoleMaster universal adapter screwed on to the 3/8″ to 1/4″ mounting plate:
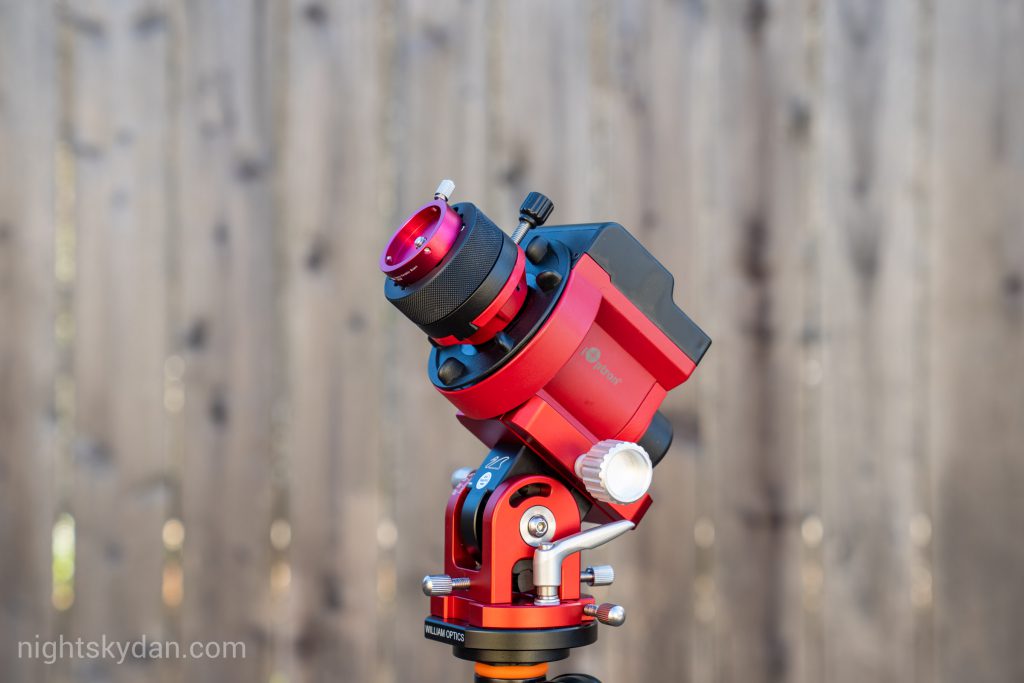
And finally, with everything attached:
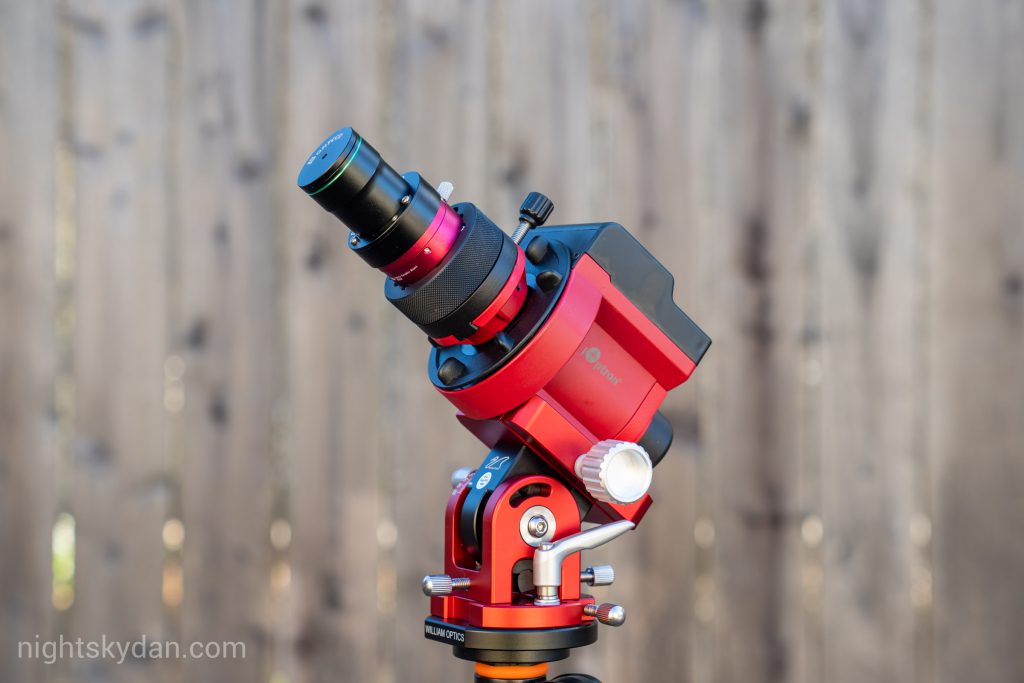
I won’t be covering the PoleMaster polar alignment routine in this post, but after I completed a successful polar alignment I attached my camera ready for testing.
Results
The important question is: does using the PoleMaster allow me to take long exposures without star trails?
Short answer: yes!
For the following cropped images, I used my Sony mirrorless camera and a fairly heavy Sony 70-200mm f/2.8 GM lens pointed up towards the zenith, first set at 135mm, then at 200mm. I captured a series of exposures ranging from 3 minutes to 5 minutes, to see how it performed. Below are the resulting images.

Cropped in order for the stars to appear a little larger on screen.

Cropped in order for the stars to appear a little larger on screen.

Cropped in order for the stars to appear a little larger on screen.
A couple of the 200mm test shots that I didn’t upload showed some very minor trailing (the one above is almost perfect), but these weren’t evident on every shot, so this doesn’t appear to be a polar alignment issue, but most likely a tracking issue which may be resolved by using a mini guidescope to make minor corrections on the RA axis.
Overall I’m pleased with the performance of the SkyGuider Pro. I’ve owned it for about a year, using it mostly for wide field imaging with my Sony mirrorless camera, but I intend to use it more with a ZWO ASI294MC camera and Rokinon 24mm and 135mm prime lenses as a portable astro rig when traveling to dark sky locations.
I’ll be sharing a post or two on my portable astro rig setup in the near future. Thanks for reading, and clear skies!
Hi Dan,
Nice website. Your site came up from searching google how to mount my PoleMaster that I bought and use for my EdgeHD8. I ordered these parts tonight to take on my trip coming up. I can see that this is going to work perfectly. Thank You!!!
Nate
Awesome, glad it helped! Have a great trip!
Do you have a picture of how you attached a camera after connecting PoleMaster to the ioptron sky guider.
After polar alignment, I remove the PoleMaster then just attach the SkyGuider’s mounting bracket, shaft, and counterweight, then I normally screw on a ball head to the top of the mounting bracket. Then attach the camera to the ball head. Very similar to this: https://www.getdpi.com/forum/medium-format-systems-and-digital-backs/65398-astrophotography-101-how-get-started-2.html?s=9b1a0697850d8e865b2ad7cdd1fb7c0d#post780997
Hi Dan!
Thanks for the tutorial, I found it very informative. When you remove the PoleMaster and reattach the mounting bracket, shaft, counterweight and camera, will you still be polar aligned properly? Just the mention of having to attach these after remove the polemaster makes me think my alignment will be off.
Hi Sarmad,
Glad you found this useful!
As long as the SkyGuider Pro is mounted to a sturdy or heavy-duty tripod, I think this should prevent any sagging or slight movement after replacing the PoleMaster with the mounting bracket, weight, and camera. Also I try to make sure I don’t move or nudge the tripod when doing the above.
I’ve used this approach a few times and I get pretty good results, normally capturing 1 or 2 minute exposures when using a 135mm lens.
Thanks!
Manfrotto plates are sometimes get I s am finding , are there other adaptor plates you could link me to as well ? I found three on Amazon but unsure which is most appropriate.
Thanks for your tutorial, I have begun ordering the parts for my own sky guider pro. I love how you aren’t restricted to only using the QHY to polar align, and can easily swap back to the sky guider pro scope!